Imagine the following. You have purchased a new hosting plan or there is a need to move your website to another hosting plan or on to our server. .
This article covers the process of moving a site and all intricacies that you may face while you’re moving your website.
To copy a site from the existing account we have, go vie FTP and copy the piblic_html folder to your computer.
For authorization, use the name of the website as the Host. The login and password are the same you used to login cPanel.
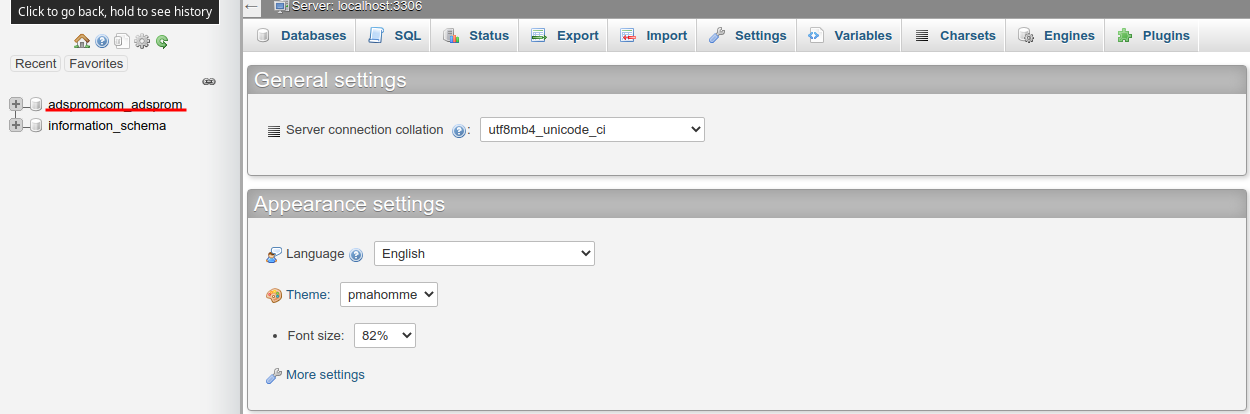
Ready? Now go to the phpMyAdmin in the cPanel of your old account. phpMyAdmin is located in the Database section.
Then select the necessary database in phpMyAdmin:
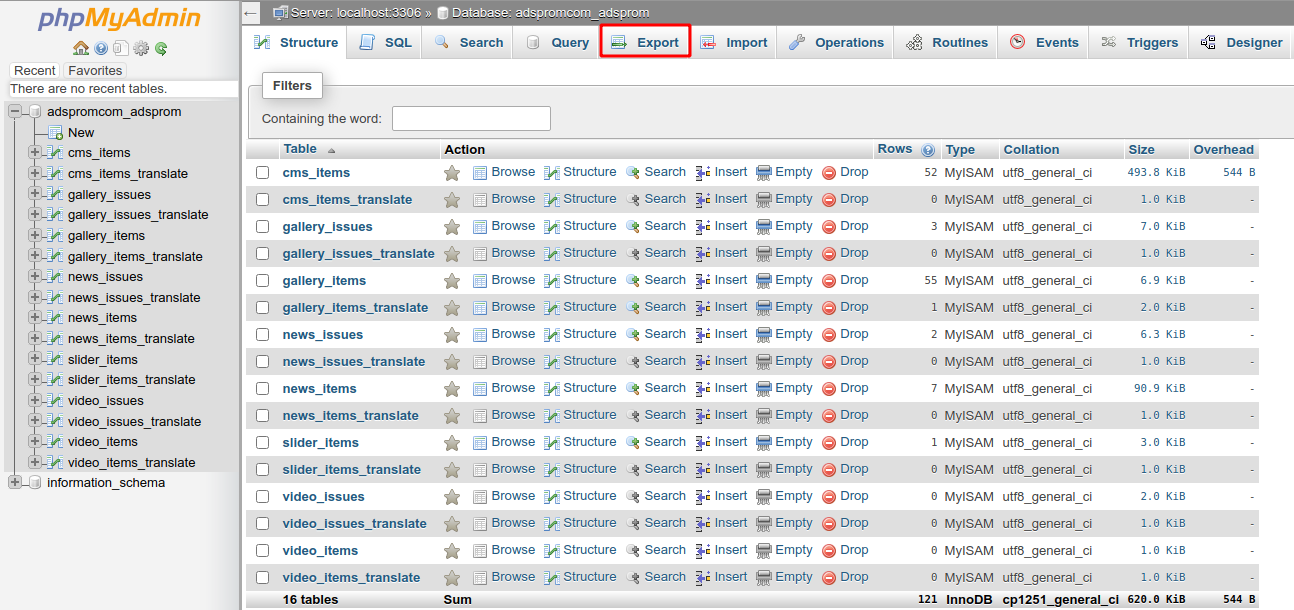
After you’ve chosen the database, press Export:
Then press Go and you will be given a list where you need to choose a folder on your PC to export the damp of the databases:
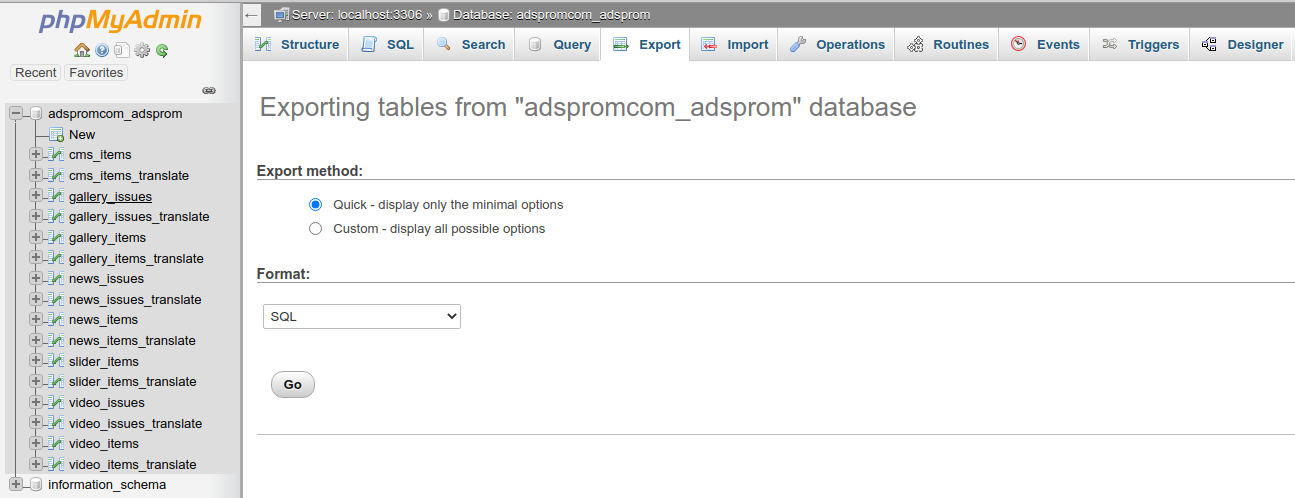
Use Quick for the Export Method and use the SQL format.
As a result, your PC will contain a folder with your website and database.
Next, I will describe how to download the website and set it to work.
In our previous article, you found out how to create an additional domain (basically a new website).
Now let’s create a database for this website and a user of this database.
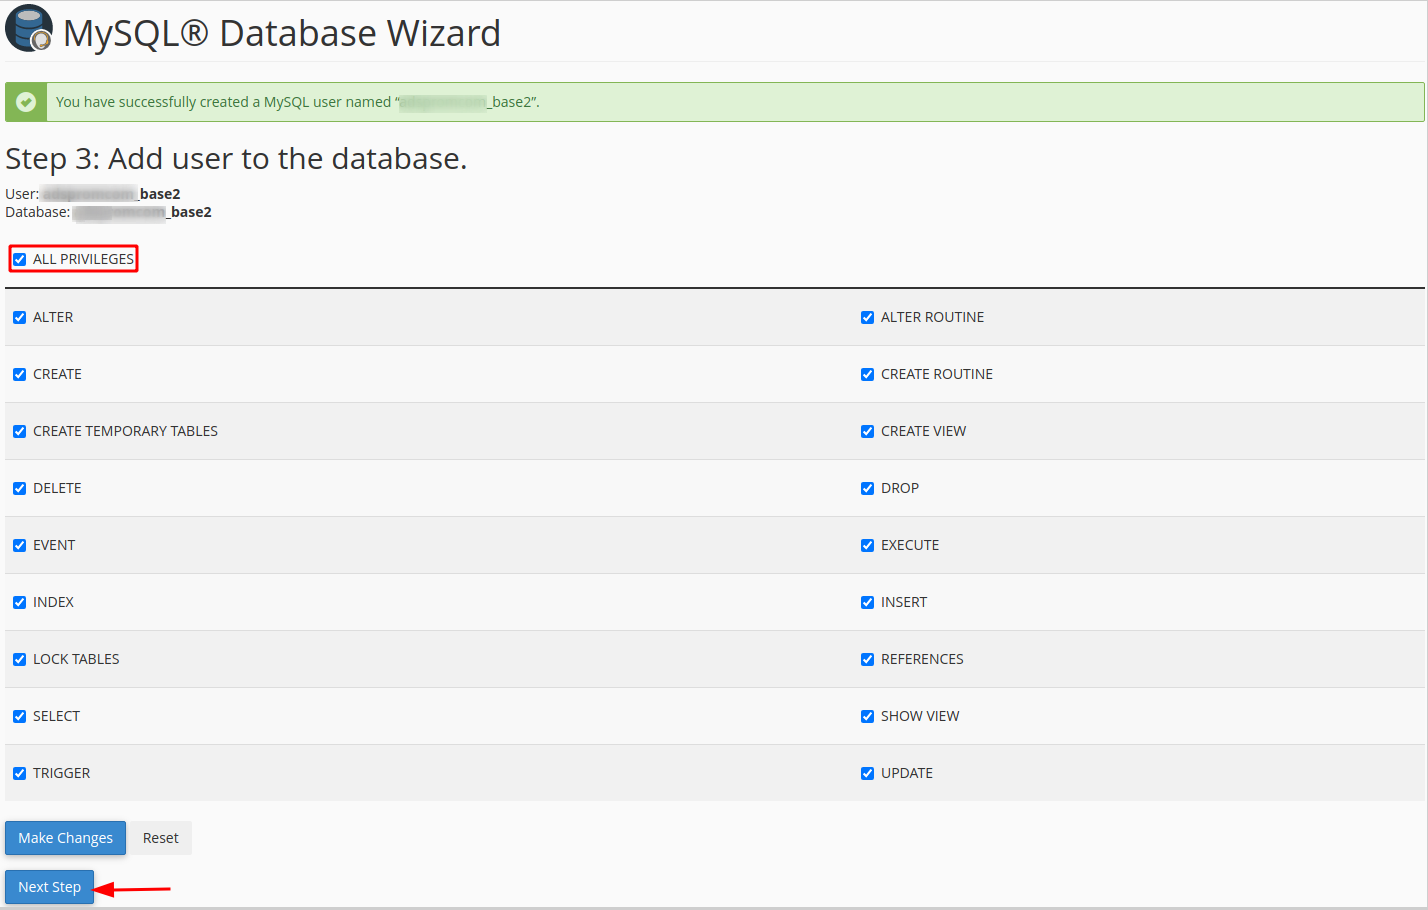
Go to cPanel of the new hosting account and find the Database section where you need to click on MySQL Databases:

Create a database and its user in the opened window. Remember to add the user to the database. When adding the user, assign All rights to them. Otherwise nothing will work:
So you’ve created a database and assigned a user. Now you need to import the existing damp into the new database.
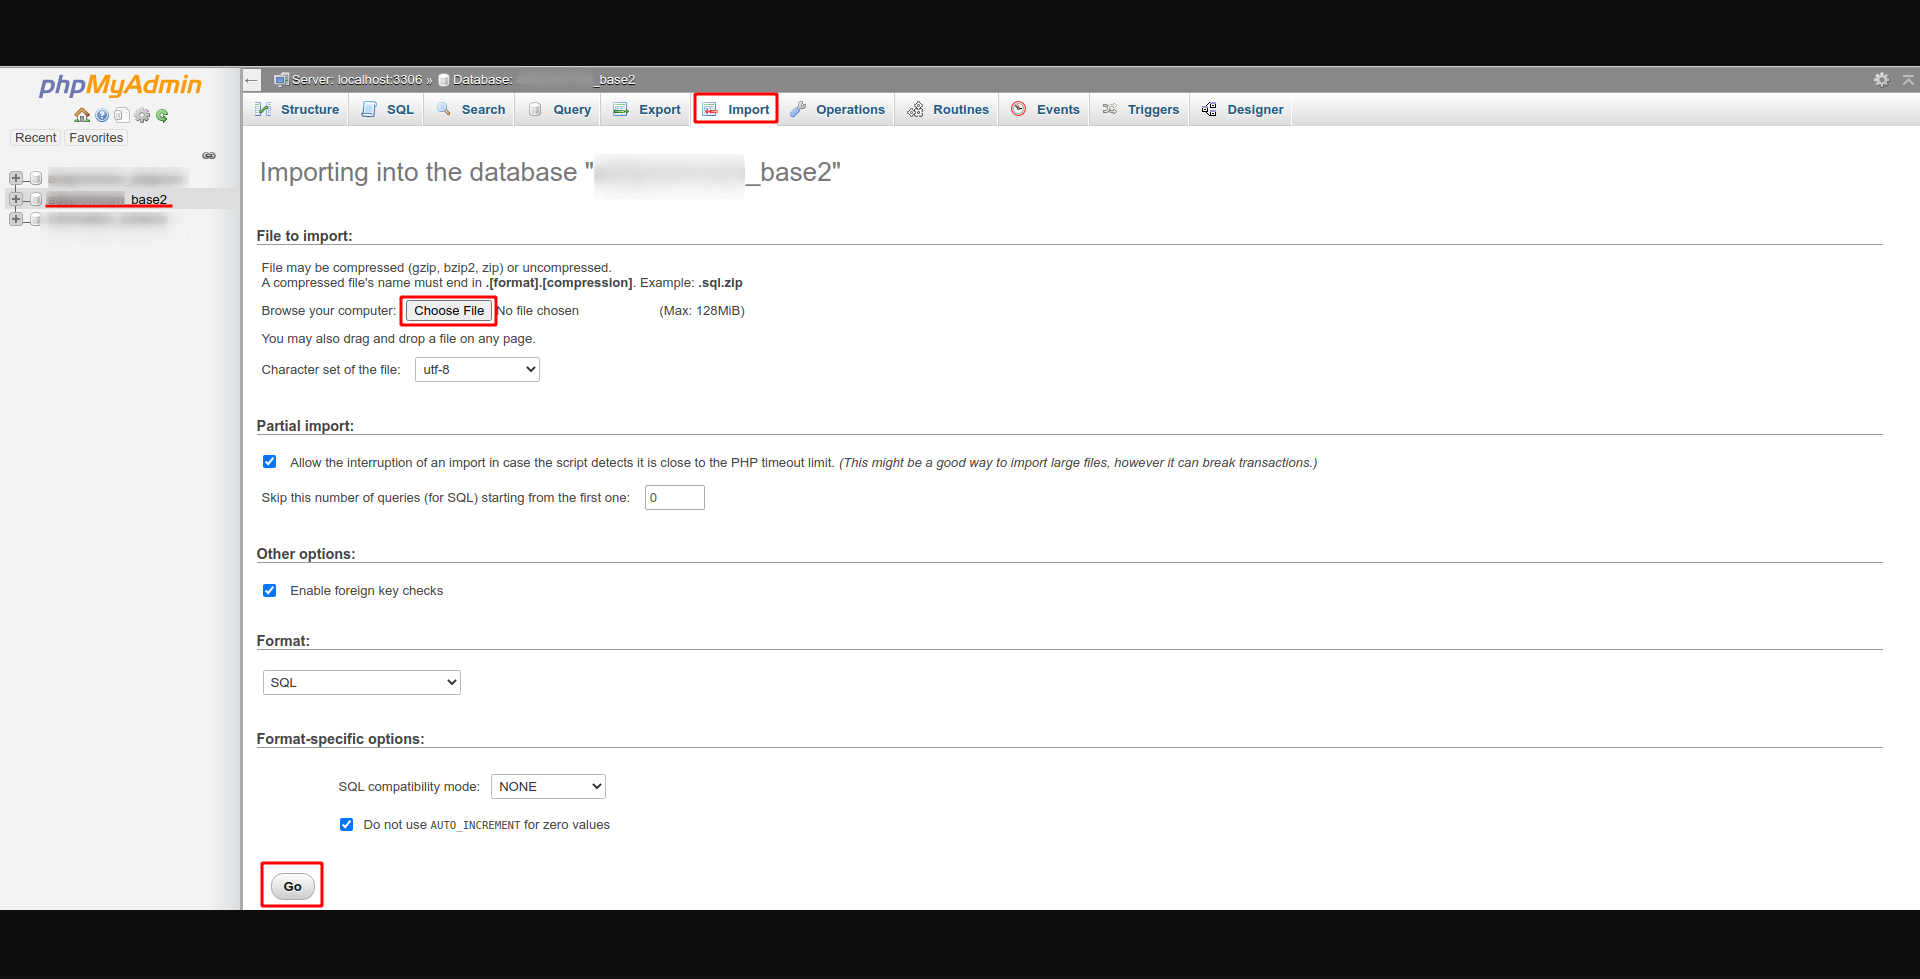
Go to phpMyAdmin in the new cPanel and choose a database the same way as mentioned above. But this time press Import.
Then press Choose File and select the sql damp on your PC.
After that press Go and wait till the process is over.
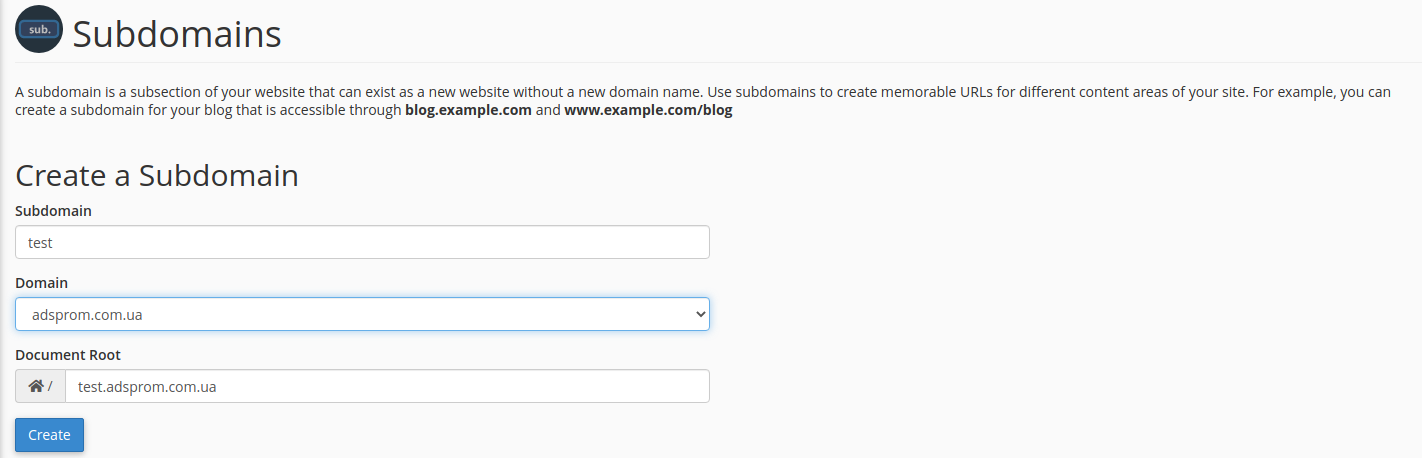
After you’ve transferred the main website, create subdomains (if you had them). In the Domain section press Subdomains.

In the window that opens, enter the name of the subdomain and specify the directory from which the site from the subdomain will be displayed:
Now everything is done! Remember to specify the new name of the database, user, and password in the config file of your CMS.
Upload the site files via FTP to the additional domain directory that you created earlier.
If you have any difficulties with preparing and transferring your website, feel free to write or call us. We’d be happy to help!
